Adding Dashboard Items
This section contains a tutorial on how to add a new dashboard item to the dashboard and perform basic actions on the item.
1. To create a dashboard item in the Dashboard Designer, click the button in the Insert group on the Home ribbon page in the default page category.

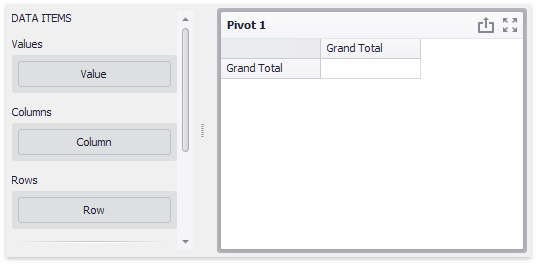
2. This creates an empty dashboard item and displays the data sections required to bind the item to data (the image below displays the Pivot dashboard item and its data sections).
3. Perform the following steps to design a dashboard item.
-
Bind the dashboard item to data.
-
Perform the required data shaping operations (such as grouping, sorting and filtering).
-
Use the interactivity features to enable interaction between various dashboard items.
-
Adjust the dashboard item's position and size and specify the dashboard item caption settings.
-
Specify specific dashboard item settings based on its type. To learn more, see Designing Dashboard Items.4. After you have created and designed the dashboard item, you can create an exact copy. To do this, click the Duplicate button in the Item group on the Home ribbon tab.
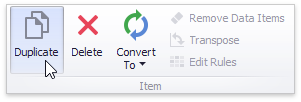 ... or use the dashboard item's context menu. To remove the dashboard item from the dashboard, use the Delete button or the corresponding item in the context menu.