Check In
In this section, you will learn how to check an asset in. Checking in logs when an asset has arrived into your premises and the state of its shipment.
1. Search for the asset by using the Find Panel. This can be done quickly by using a barcode scanner. To reduce the number of records in the main view, you can also group or filter the assets by using the filter buttons in the ribbon bar.
2. To add the asset to the tracking view, you can double-click the selected asset, select the asset (or multiple assets) and press Enter or if using a barcode scanner (configured with an 'Enter' command), scan the asset and it be automatically added.
3. Repeat until all the assets from the one shipment have been added in the tracking view. Note: Do not add assets from multiple shipments together in the same tracking view. Only check in one shipment at a time.

4. To remove an asset from the tracking view, right-click on the selected row to bring up the context menu and select Remove or select the asset (or multiple assets) and press Delete.

5. To add shipping notes to the assets in the tracking view, click on Shipping Notes. You can apply a shipping note to one asset or multiple. After adding a shipping note, a red message icon will appear next to each asset in the tracking view to indicate a shipping note has been added.
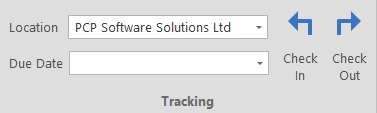
6. From the location drop-down menu, select the check in location. In most cases, this will be your business premise location.
If the check in location is as supplier location, the following message will appear. Supplier locations are defined in locations in Options.
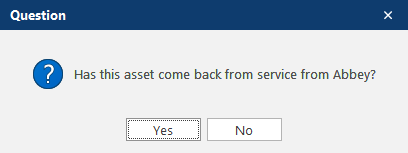
If you click Yes, the existing overview entry will be updated (e.g. the supplier check in date and username). If you click No, a new overview entry will be created.
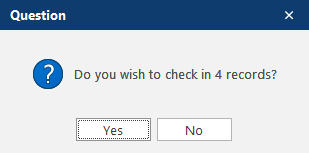
7. Click on Check In.
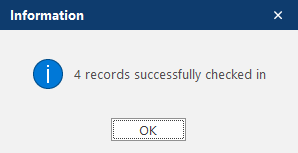
9. Once all the assets have been checked in, you can print a shipping label and shipping report. Then OK to close the pop-up message.
10. The Checked In Icon  will now be shown on each row indicating that the asset has been checked in.