Shipping Notes
In this section, you will learn how to add shipping notes when checking in or checking out an asset. All saved shipping notes and images can be viewed in messages.
1. After adding assets to the tracking view, click on Shipping Notes or double-click the row to open. Once complete, click on Save and Close.
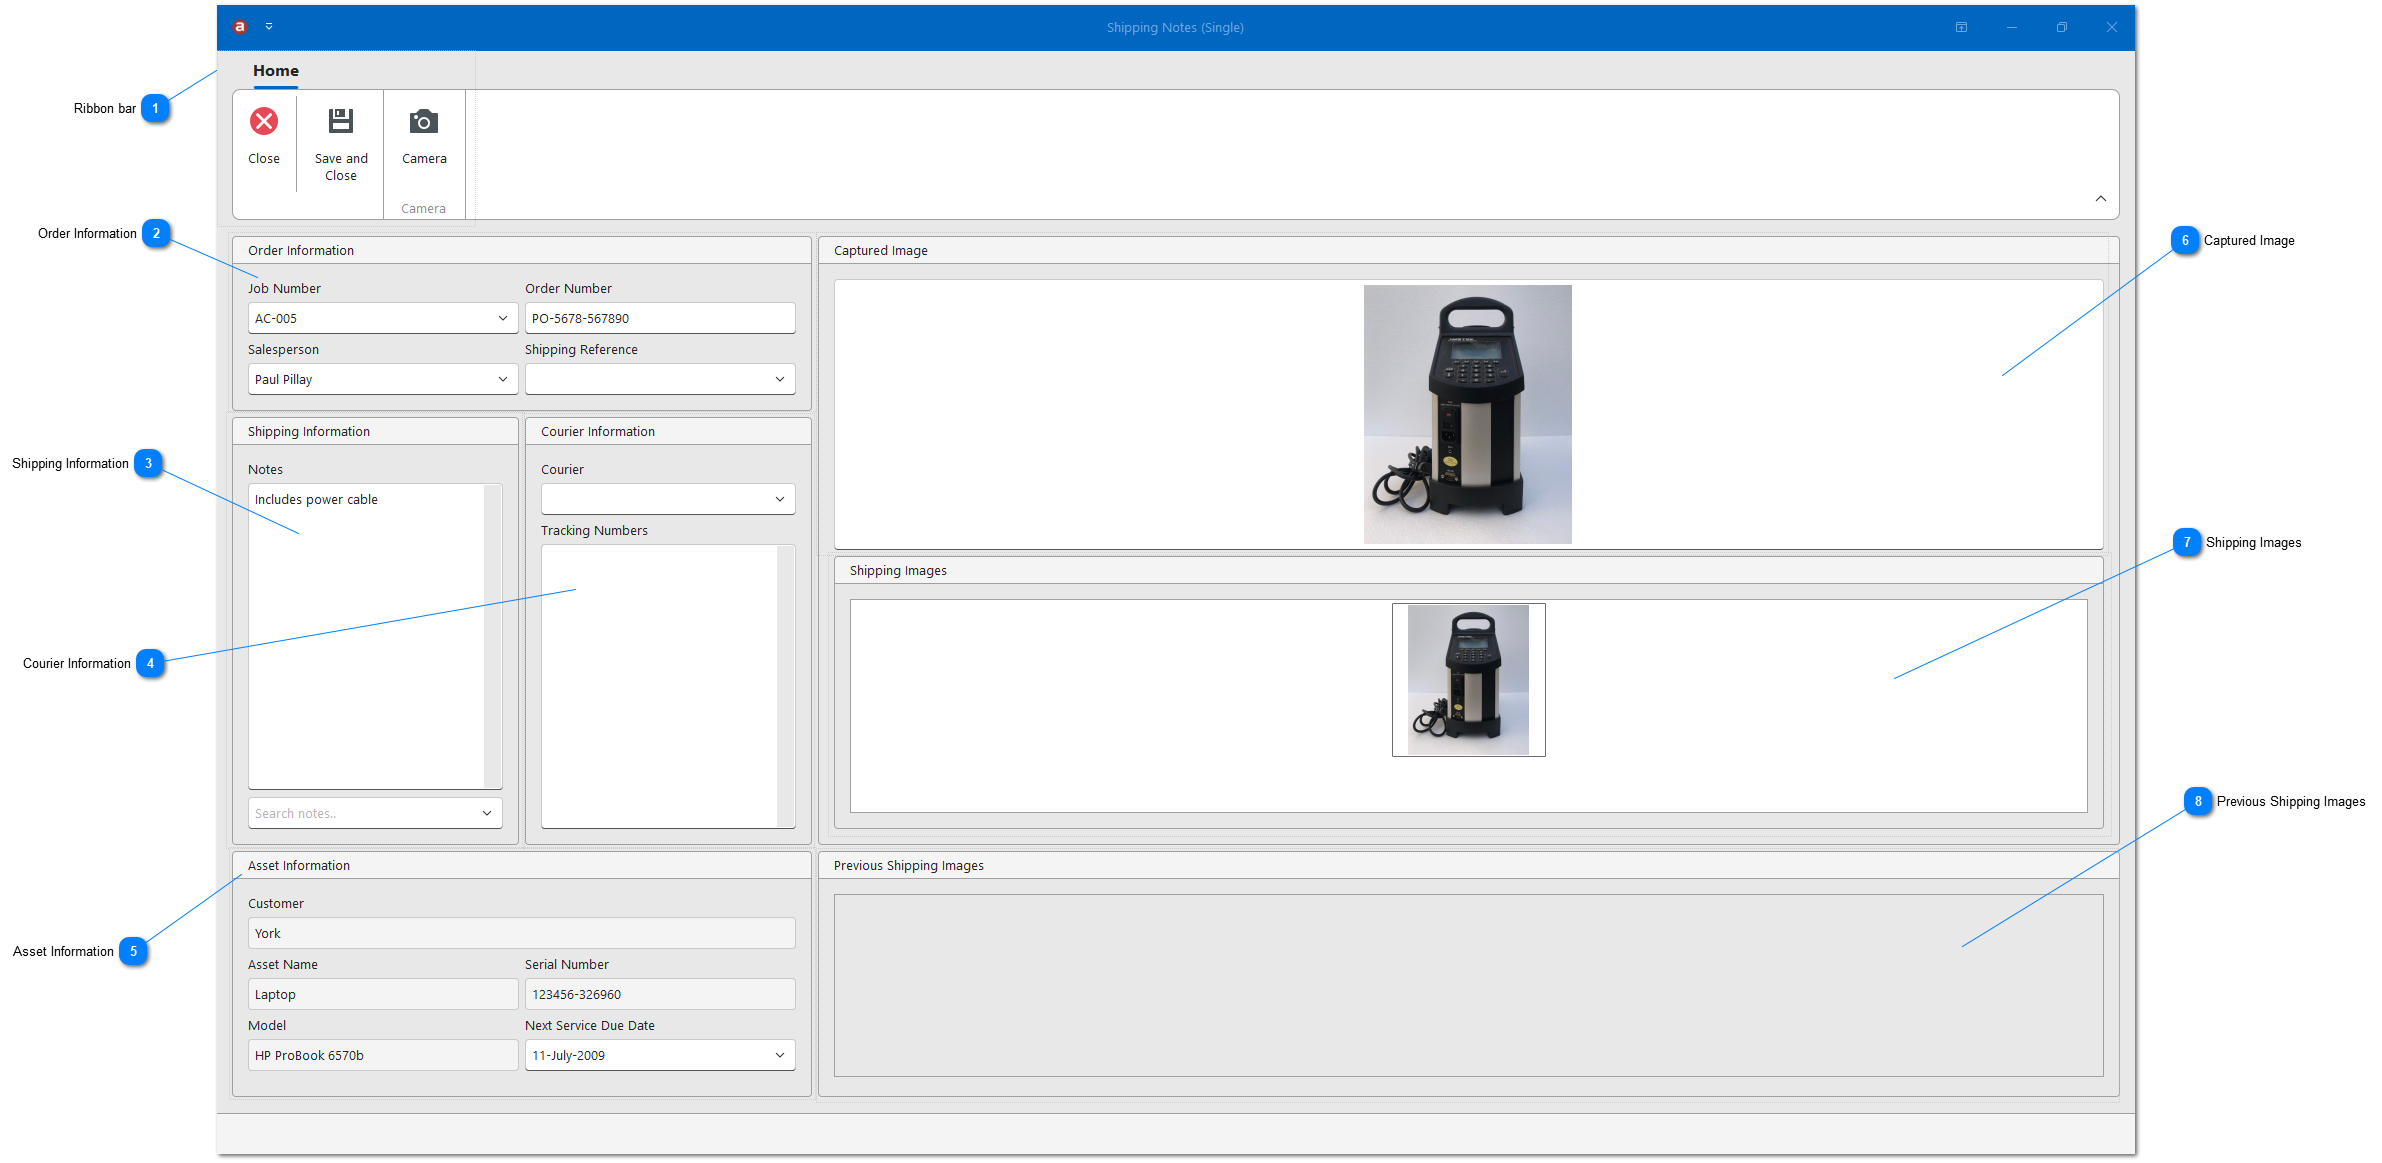

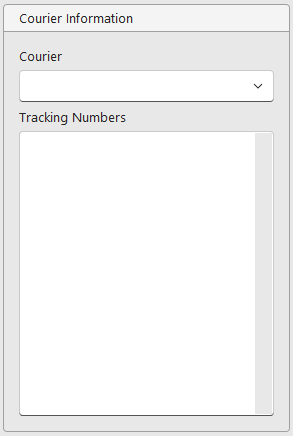
Order Information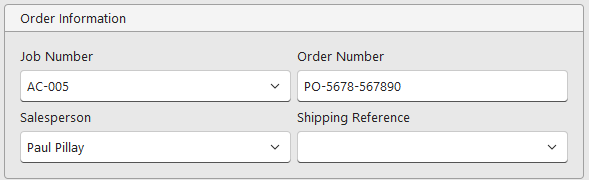 Enter the Job Number, Order Number, Salesperson and Shipping Reference. The Job Number drop-down menu is based on all job numbers in the JOBNUMBER column in the main view. If found, it will try and populate the order number. The shipping reference drop-down menu is based on the Status fields found in Options.
|
Shipping InformationEnter shipment notes.
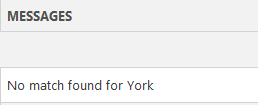
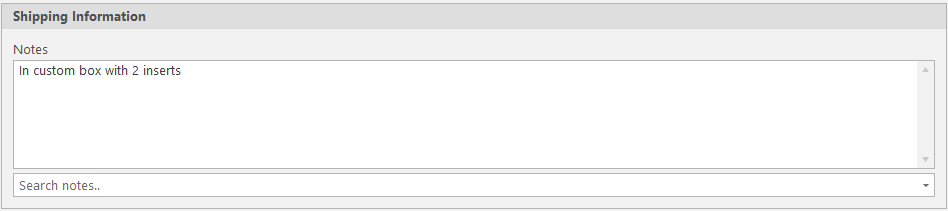 After a document search, if a match is not found, a message will be added to the shipping information. This message will also be added to the overview screen after checking in.
Shipping Notes
 Overview
 |

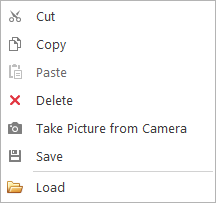
Captured Image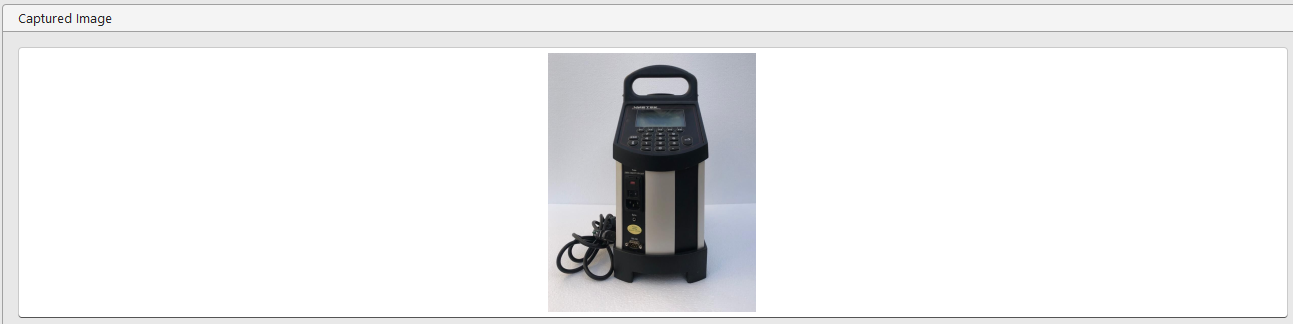 The captured image from the Camera. You can also paste an image from the clipboard or load an image from the local disk. Double-click the captured image to copy the image to shipping images.
Right click the image box to bring up the context menu.
 |
Shipping Images Any image in the shipping images will be saved with the shipping notes. To add images, double-click the captured image or the previous shipping images.
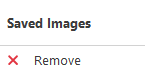
To remove an image, right click the image box and select Saved Images -> Remove.
 |
Previous Shipping Images The previous shipping images from the last check in or check out will appear here. This is useful to identity the same packaging if the asset is in house or if back from a supplier. Double-click the previous shipping image to copy the image to shipping images.
|
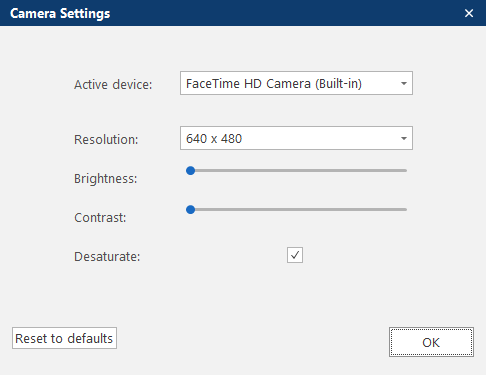
1. Click Camera.
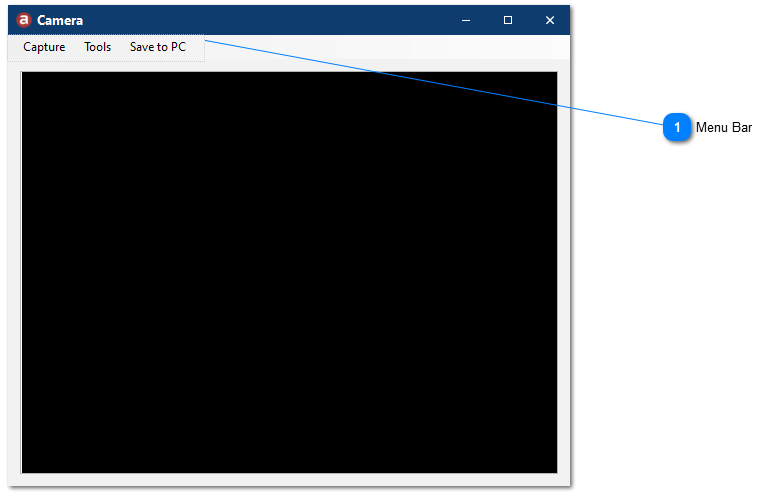
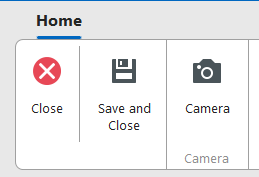
Menu BarThe menu bar provides quick access buttons and options
| ||||||||||||