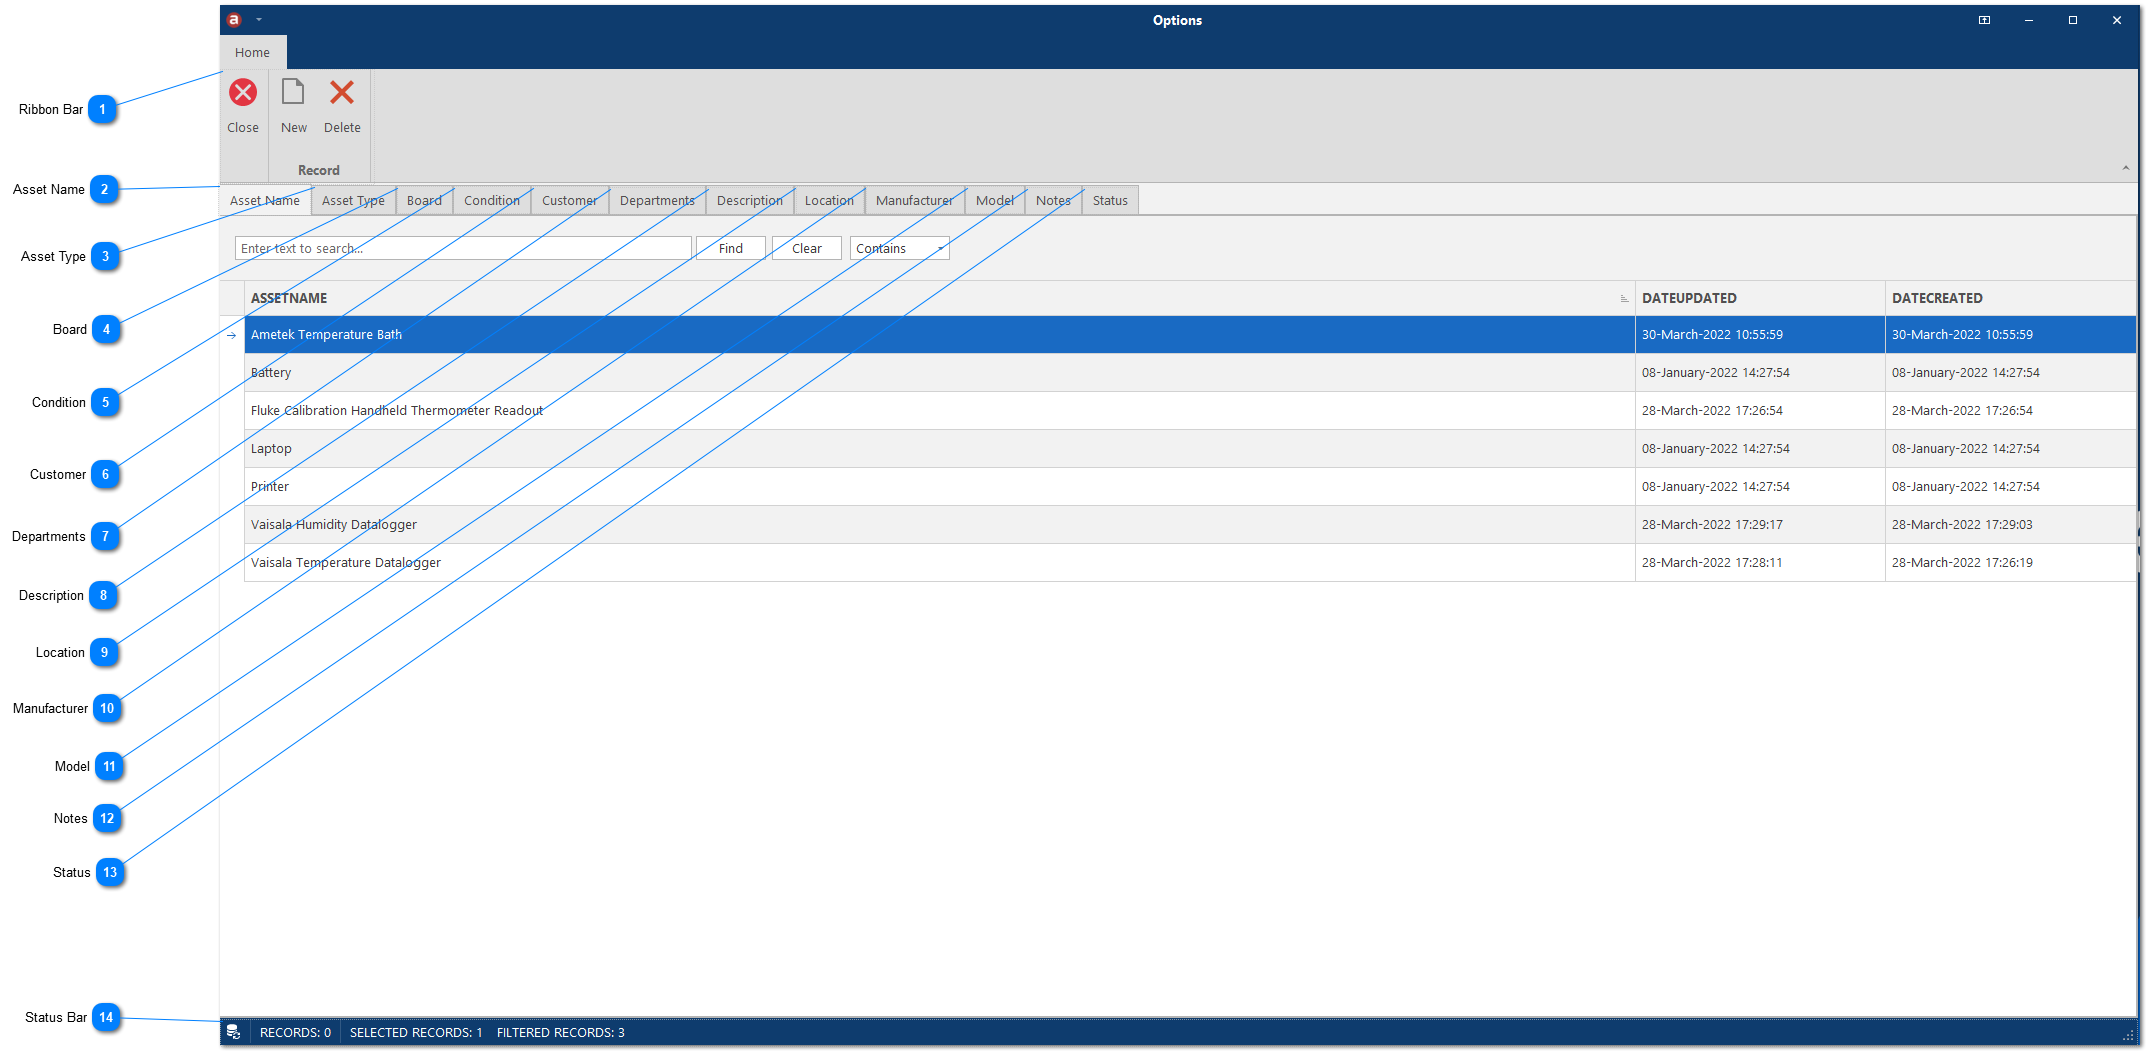
Options
In this section, you will learn how to create custom fields.
View Options

CustomerThe company who owns the asset.
You can also create new customers and email contacts, and edit existing customers and email contacts.
|
ModelThe model name of the asset. You can also store images based on the model name in Asset Information.
|
NotesThe predefined notes used in Certificates and Shipping Notes.
|
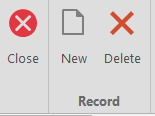
1. Select the correct tab, then click New Record or right-click the grid view to bring up the context menu and select Record -> New.
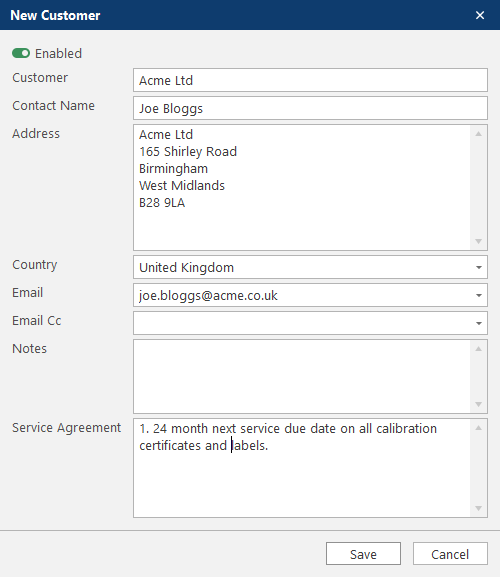
1. Select the Customer tab, then click New Record or right-click the grid view to bring up the context menu and select Record -> New.
2. Enter all the customer information, then click Save. Note: When customer is enabled, the customer can receive outgoing emails sent from Email.
1. Select the record you wish to edit then double-click the cell to enable edit mode. This will also change the row selection to cell selection.
2. Once in edit mode, double click the highlighted cell again to display the cell editor. Please note: The factory default values are locked and cannot be changed.
3. Once in the cell editor, make your edit then press Enter or click away from the cell to commit the change.
4. Click OK to save changes or click Cancel to discard the change.
1. Select the customer record you wish to edit then double-click the record to display the customer edit form.
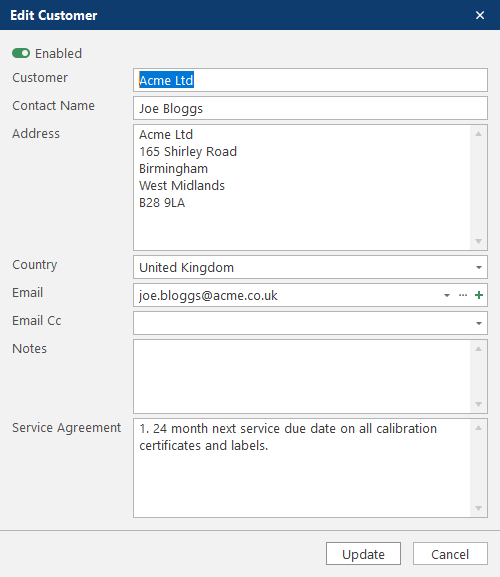
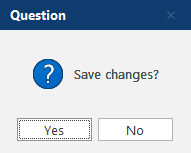
2. Make your customer edits, then press Update to save changes.
1. Select the customer record you wish to edit then double-click the record to display the customer edit form.
2. Click on the Email plus button  and enter the new contact name and email address.
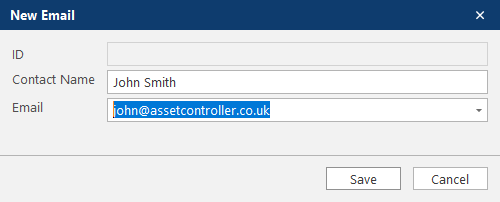
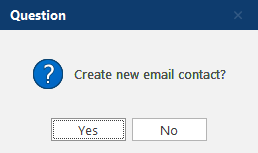
3. Click Save, then Yes to create the new contact.
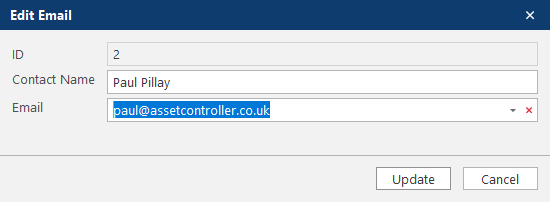
1. Select the customer record you wish to edit then double-click the record to display the customer edit form.
2. Click on the Email ellipsis button  , select the contact from the drop-down menu and then make your change.
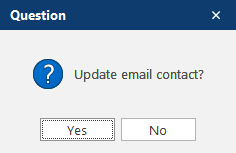
3. Click Update, then Yes to update the contact.
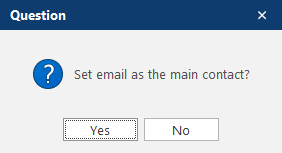
4. You can also set the updated contact as the main contact by clicking Yes or No to discard.
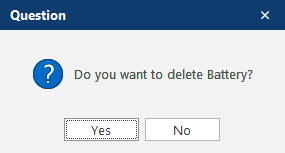
1. Select the record you wish to delete then click Delete Record or right-click the selected row to bring up the context menu and select Record -> Delete. Please note: The factory default values are locked and cannot be deleted.
2. Click Yes to confirm the deletion.