
Messages
Messages displays all the captured emails, attachments and overview messages relating to the selected asset. This can be very useful when you want to see what communication has been had between the users and customers and to communicate information better between your team. To capture the email and attachment, the exact prefix (see email settings) must be followed by the Asset ID number or Job Number and enclosed in square brackets (e.g. [AC-002]) and included in the subject field of the email.
Note: The prefix must be defined and email capturing enabled in the email settings. All attachments are saved in the Files database.
In this section, you will learn about Messages:
View Messages
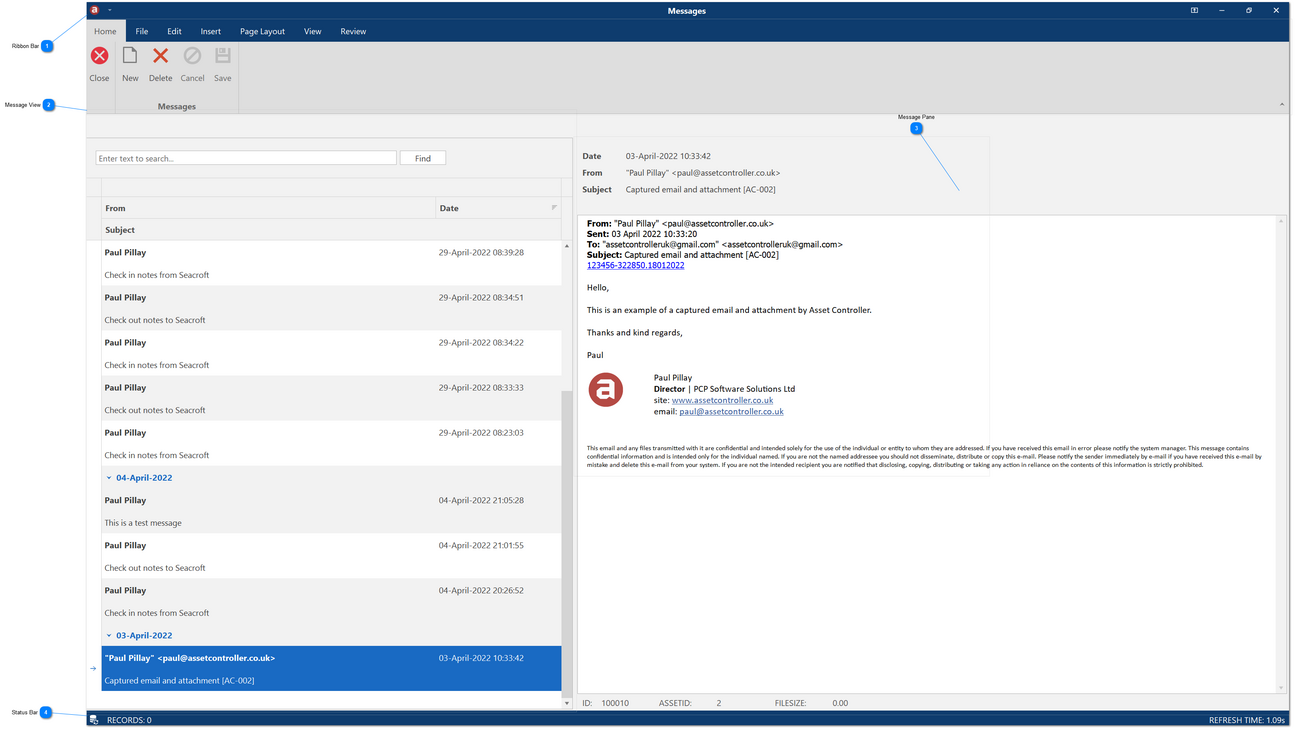


Message View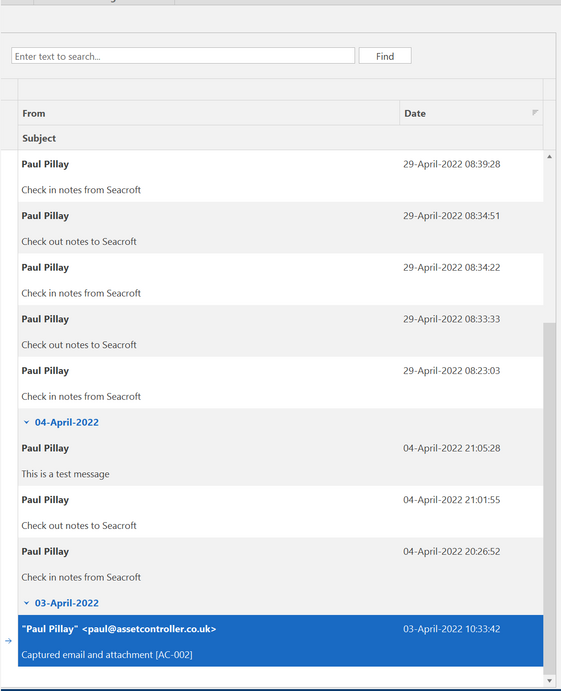 The message view shows messages and shipping notes entries in a tabular grid view. You can search for keywords using the find panel, resize columns, filter and group columns to suit. By default, the view is sorted by date in descending order.
|
Message Pane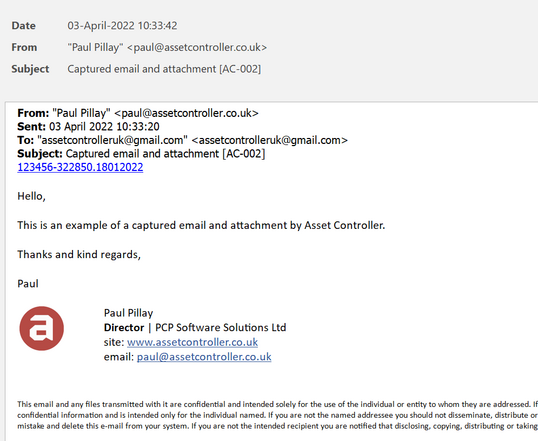 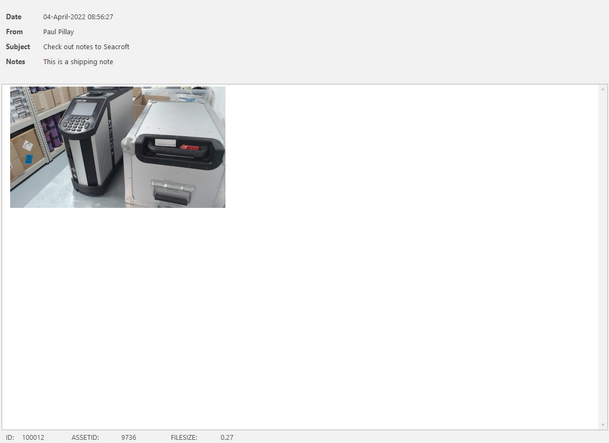 The message pane displays the selected e-mail message with embedded attachments and the shipping notes entries (see shipping notes). You can click the embedded attachment to open the attachment and resize the images.
An email is only captured when the exact prefix (see email settings) is followed by the Asset ID number or Job Number and enclosed in square brackets (e.g. [AC-002]) and included in the subject field of the email (as above). There can be no spaces between the prefix and Asset ID number or Job Number. You can capture the same email for multiple assets or job numbers by repeating the square bracket (e.g. [AC-002] [AC-003] [AC-004]). This would capture the email 3 times, one for each asset or job number.
Scanning of the incoming mailbox (see email setting) to capture new emails only occurs when the main screen or overview is refreshed.
|
Status BarThe Status Bar is located on the bottom of the form and provides additional information:
| ||||||||||||
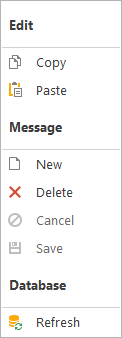
1. Click New Message or right-click the grid view to bring up the context menu and select Message -> New.
2. Enter a subject and message then click Save or Cancel to discard the new message.
1. You can edit the subject line and message pane of your own messages. This fields will be unlocked.
2. After you have made your changes, click Save.
1. Select all the record you wish to delete then click Message Record or right-click the selected row to bring up the context menu and select Message -> Delete.
2. Click Yes to confirm the deletion.
To save space, all images in the message pane are compressed to a resolution of 1280 x 720 after saving.