Etrain
Etrain is a electronic training management system allowing you to manage your employee's training records and QMS documentation to comply with GMP and ISO17025.
Only a Manager or Administrator user account can create, edit or delete training records.
In this section, you will learn about Etrain:
View Etrain
1. Click on Main Screen -> Etrain


Training Records ViewMy Training Record (enabled for all user accounts)
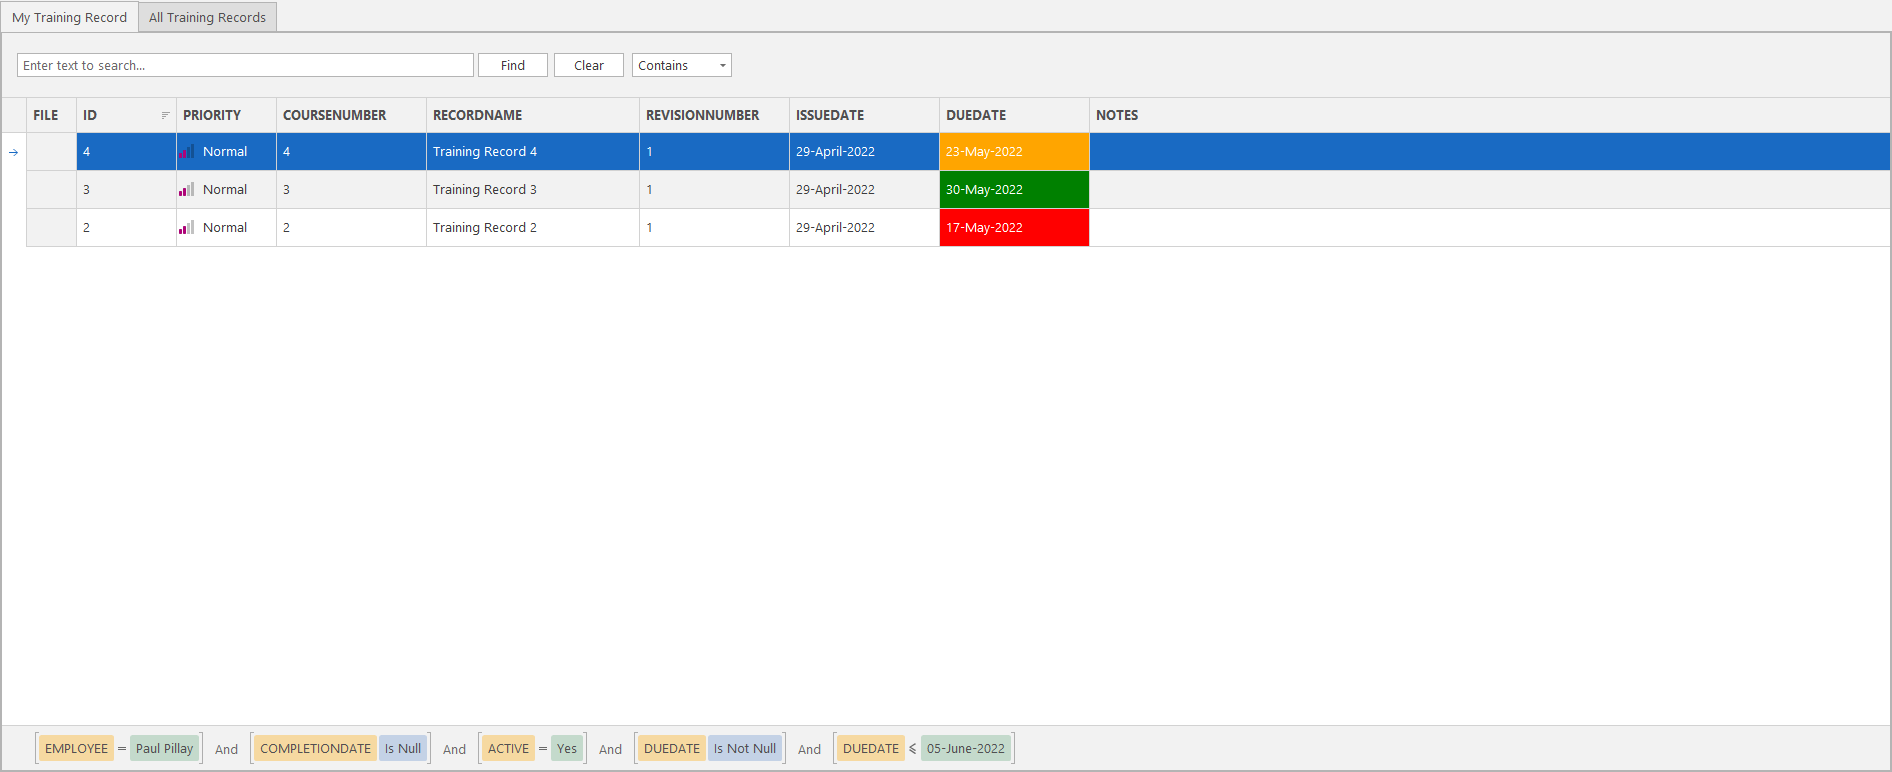 The My Training Records view shows all overdue training records for the logged in user in a tabular grid view. They can search for keywords using the find panel, resize columns, filter and group columns. No cell edits can be made from this view.
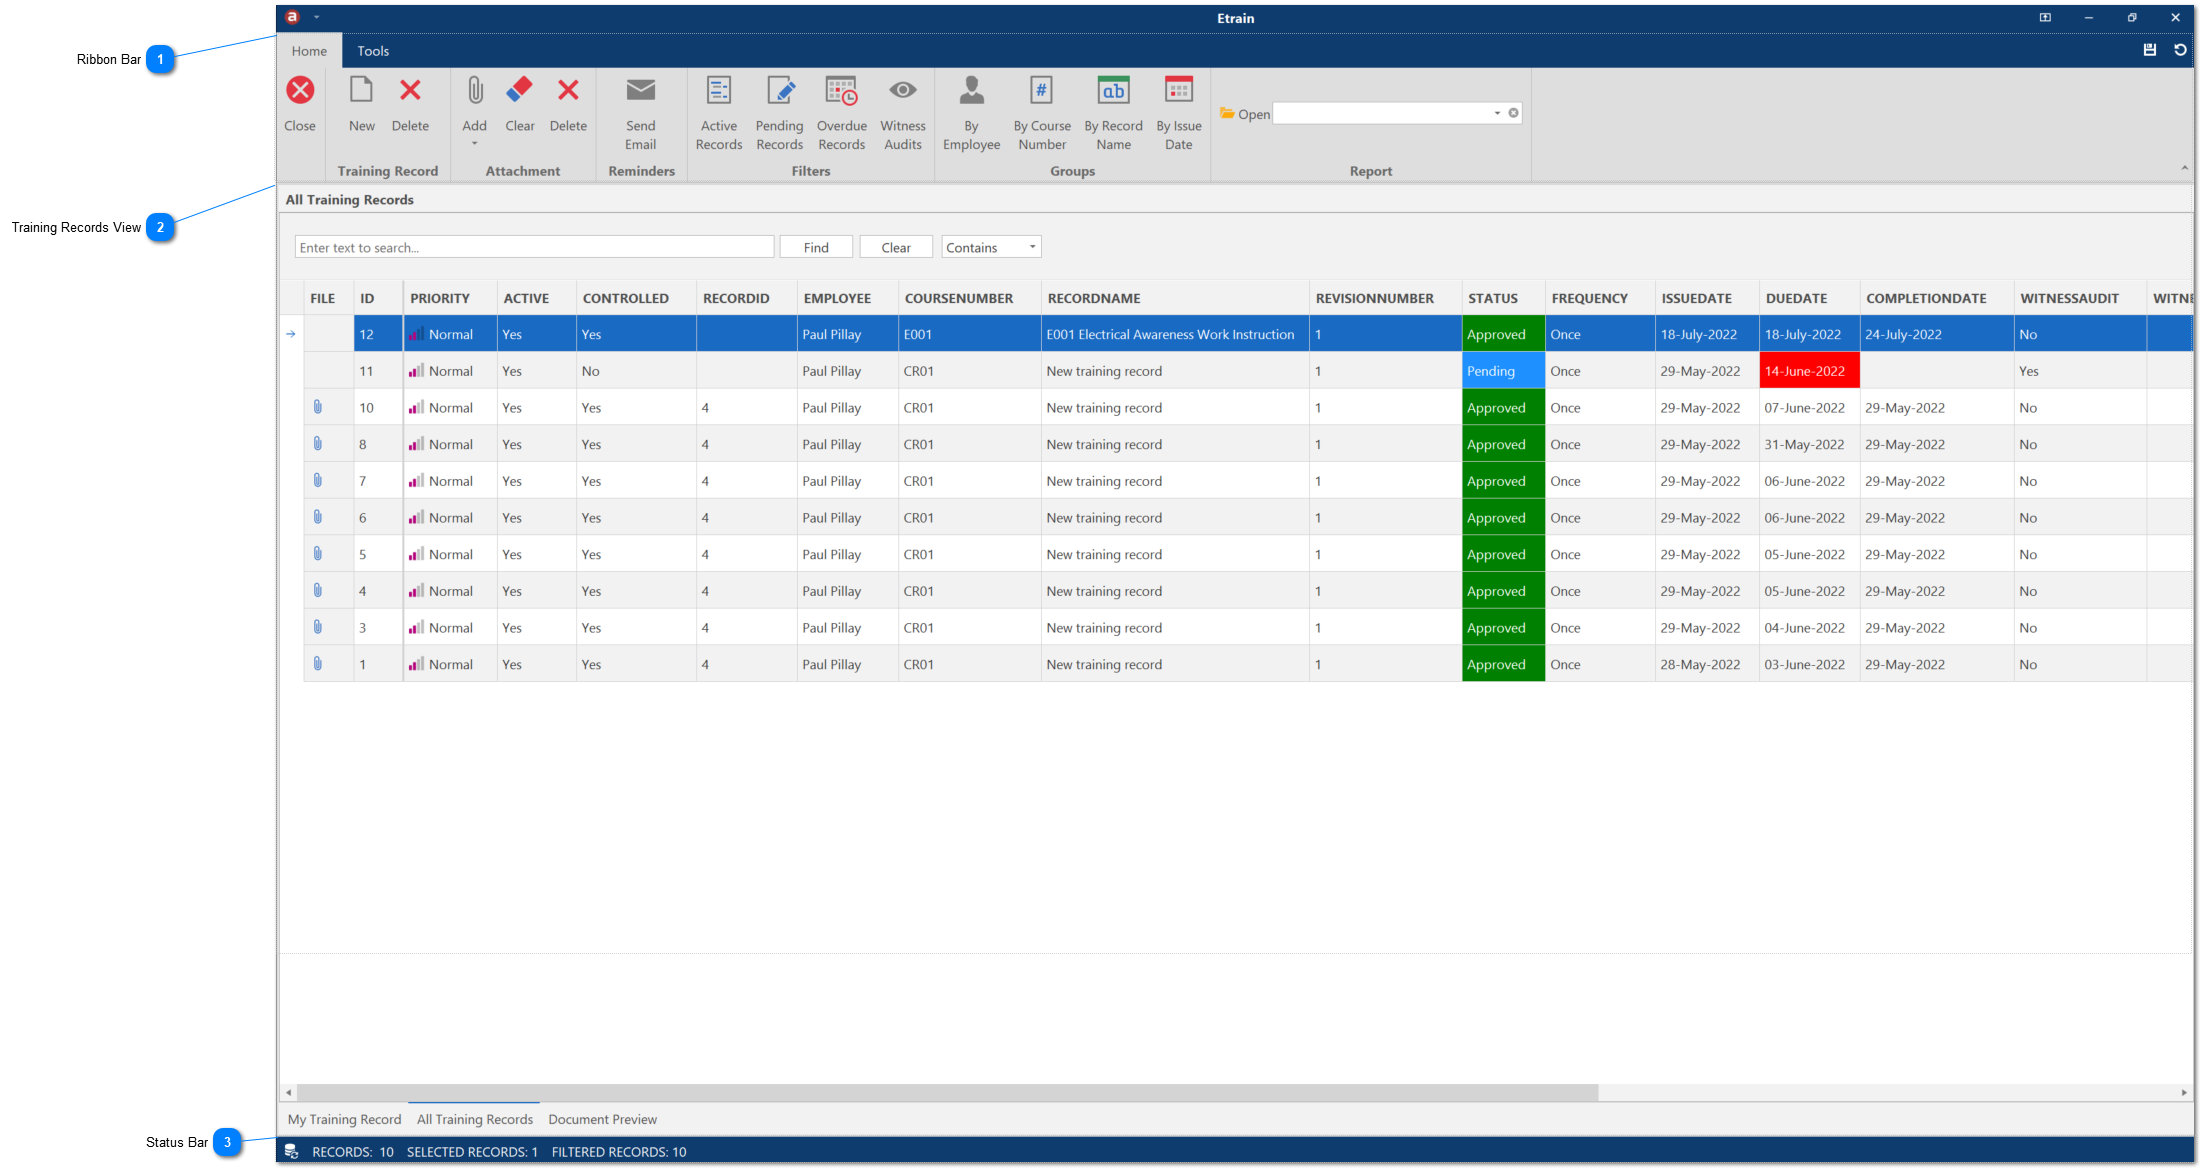
All Training Records (visible for Administrator or Manager user accounts only)
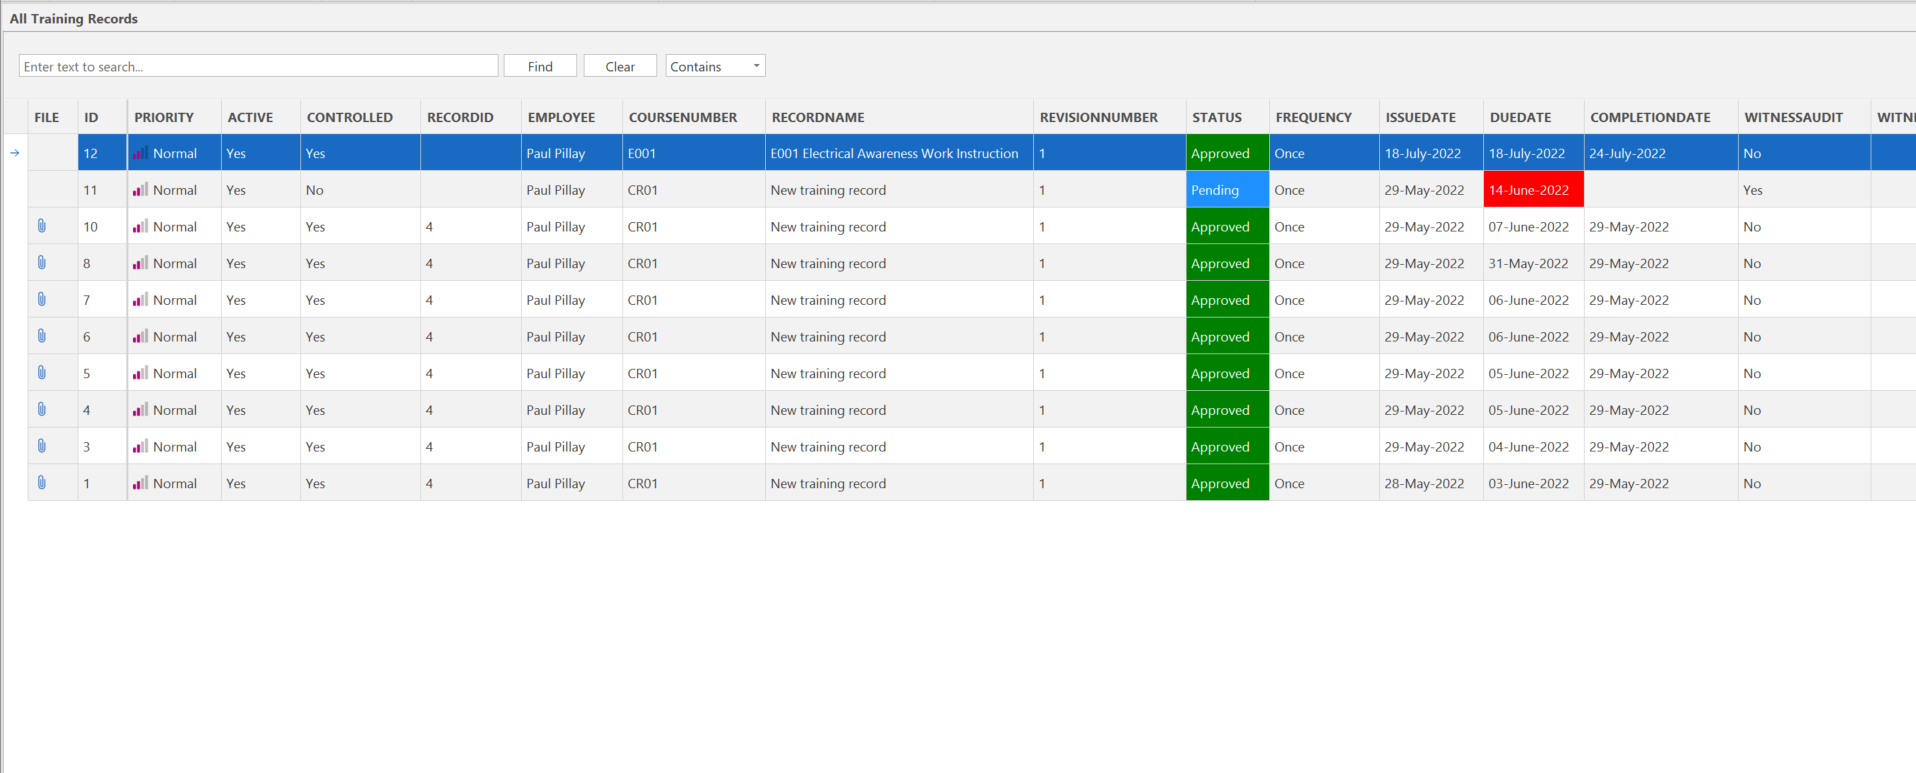 The All Training Records view shows all training records in a tabular grid view. You can search for keywords using the find panel, resize columns, filter and group columns and make cell edits from this view. You can search for keywords using the find panel, edit cells, resize columns, filter and group columns and customise the layout to suit.
You can add new columns to the database (see Database Columns). However, the above default columns cannot be renamed or deleted:
Document Preview (visible for Administrator or Manager user accounts only)
The Document Preview allows you to open any report created in the Report Designer. For example, you could create an Employee Training Record Report in the Report Designer, which you can then view from the Document Preview to help discuss the training history of a user.
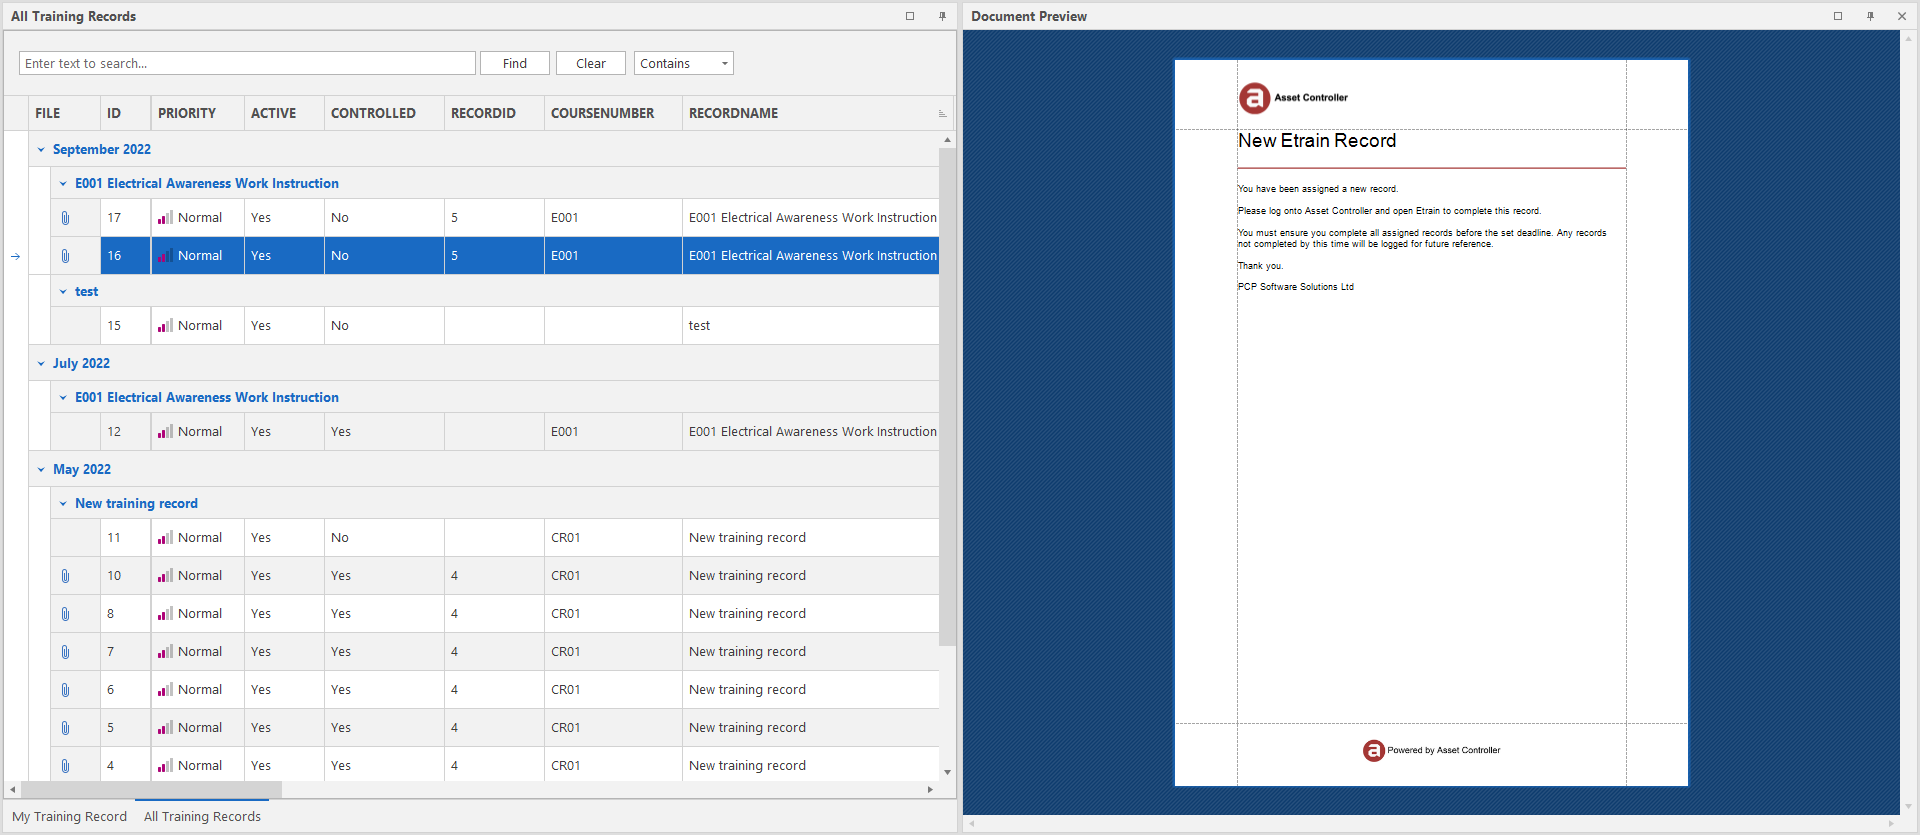 These views are within a dock panel allowing you to move and resize the panel to customise the layout, see Dock Panels. You can also save the dock panel layout, so the next time you open the form, the saved layout will be in restored, see Layouts.
|
Status BarThe Status Bar is located on the bottom of the form and provides additional information:
|
Only a Manager or Administrator user account can create a new training record.
1. Click on New Record
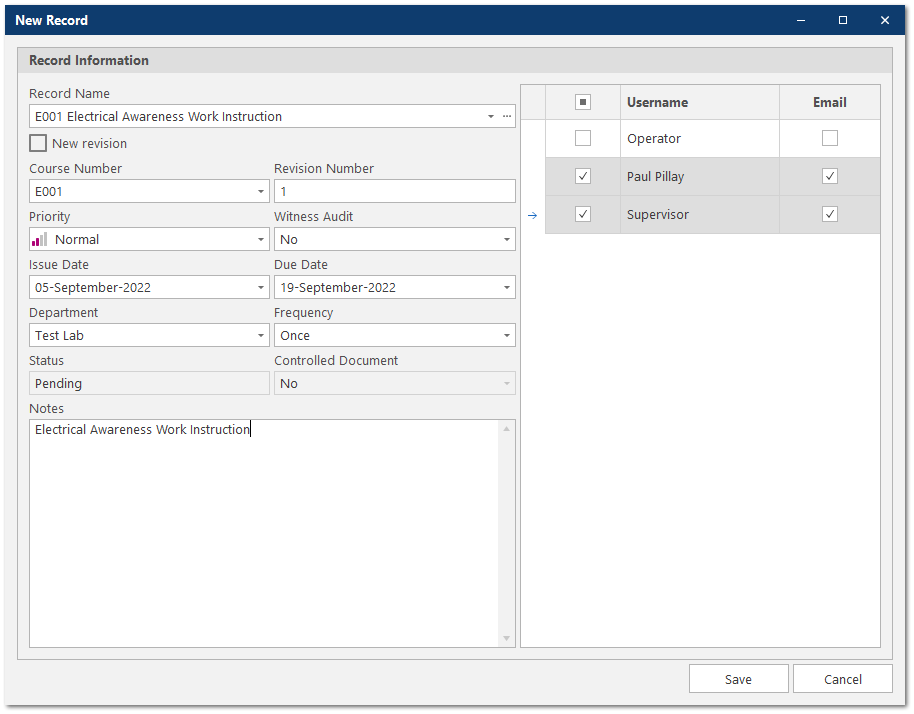
a) Enter a Record Name.
-
You can either upload a new document by clicking on the eclipse icon and selecting a file from the local disk.
-
Select an existing document from the database from the drop-down menu.
-
Type the record name in the field box.b) If your uploading a new revised document, you may want to supersede the old revision . This can be done by clicking on the New revision checkbox. Then selecting the record name from the drop-down menu that you wish to supersede. After the new training record has created, the old document revision will be superseded (shown by a strike-through). This does not apply to witness audit records.
 c) Enter the Course Number. You can select a existing course number from the drop-down menu or type a new one.d) Enter the Revision Number.e) Select the Priority. Whenever a training record is set to High, then the next time the user logs in, they are forced to complete the training record before they can continue using Asset Controller.
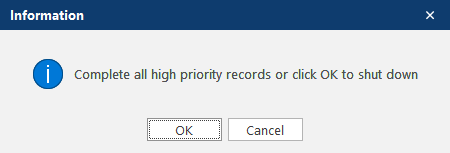 f) Select if the record is a Witness Audit. This implies that a witness audit will be carried out and applicable when part of a Quality Management System (QMS).g) Enter the Issue Date.h) Enter the Due Date.i) Enter the Department. A user can be part of a Department group (see Users) which can it easier to ensure that the correct user gets the new training record.j) Enter the Frequency. A training record can be automatically rescheduled whenever a user completes the training record. For example, if a training record has a frequency of 2 years and issued on the 01 April 2022. When the user completes this training record, a new copy of this training record will be created with an issue date of 01 April 2024.k) Whenever a new training record is issued, the status is set to 'Pending'. This indicates that the record has not been approved until it is has been completed. After completion, the status changes to 'Completed' or 'Approved' if a witness audit or record without an attachment.l) Whenever a new training record is issued, the controlled document is set to 'No'. Once the document has been approved, it will change to 'Yes'.m) Select the usernames who require the training record. By default, when a username is selected, the email column will be checked. If you want to create a training record for a user, but do not want to send them an email, then uncheck the email box.2. Click Save to create the new records and emails.
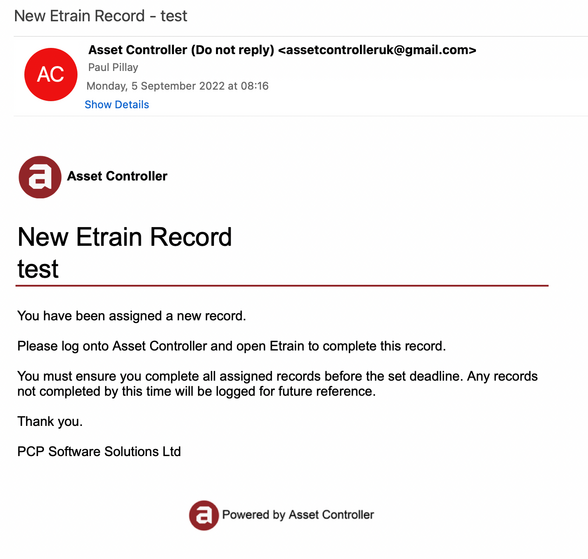
3. If enabled, the user will receive a new Etrain record email message in their mailbox. This email notification can be designed in the Report Designer and report saved in Global Settings.
1. From the All Training Records view, select the record you wish to edit then double-click the cell to enable edit mode. This will also change the row selection to cell selection.
2. Once in edit mode, double click the highlighted cell again to display the cell editor. Please note: The factory default values are locked and cannot be changed.
3. Once in the cell editor, make your edit then press Enter or click away from the cell to commit the change.
4. Click OK to save changes or click Cancel to discard the change.
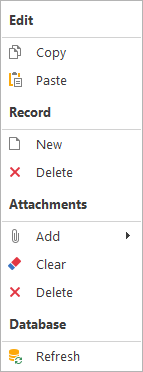
1. From the All Training Records view, select the record you wish to delete then click Delete Record or right-click the selected row to bring up the context menu and select Record -> Delete. Please note: The factory default values are locked and cannot be deleted.
2. Click Yes to confirm the deletion.
1. From the My Training Records view, double click the training record you wish to complete. If an attachment had been assigned to the record, the attachment will open up in your default application (e.g. Adobe Acrobat to open a PDF file). Close the attachment to continue.
2. Click Yes to complete the training record or No to ignore.
In most cases, attachments are added when a new training record is created. However, you can add or change an attachment to an existing record. From the All Training Records view, select the record you want to add an attachment and from the Add Attachments context menu, click Attachments -> Upload or Attachments -> Select.
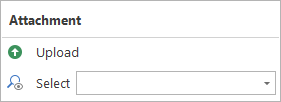
Attachments -> Upload
1. Select your file and click on Open. This will upload a new attachment to the database.
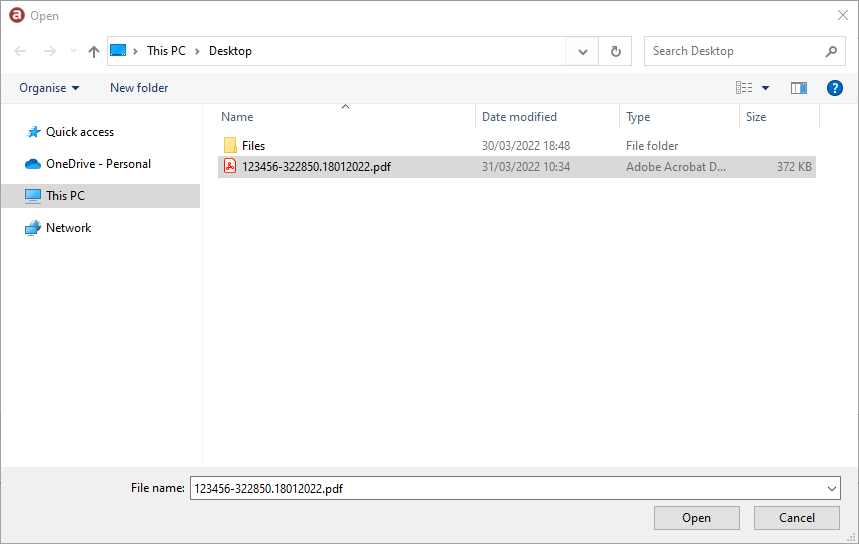
2. The file will be uploaded and saved. Depending on the file size, this may take a few seconds. If successful, the FILE column will show a paper clip icon to indicate a file has been attached. The RECORDID column will also be updated.
Attachments -> Select
1. From the drop-down menu, select the file you want to add. This will use an existing attachment which has already been uploaded to the database.
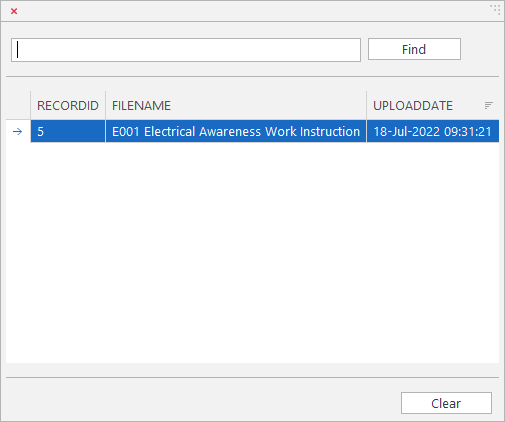
2. If successful, the FILE column will show a paper clip icon to indicate a file has been attached. The RECORDID column will also be updated.
1. From the All Training Records view, select the record you wish to clear the attachment from then click Clear Attachment or right-click the selected row to bring up the context menu and select Attachment -> Clear . This will just remove the file information from the training record, it doesn't delete the attachment.
2. If successful, the paper clip icon will be removed from the FILE column to indicate that the attachment has been removed from record. The RECORDID column will also be updated.
1. From the All Training Records view, select the record you wish to delete the attachment from then click Delete Attachment or right-click the selected row to bring up the context menu and select Attachment -> Delete. This will permanently delete the attachment.
2. If successful, the paper clip icon will be removed from the FILE column to indicate that the attachment has been removed from record. The RECORDID column will also be updated.
1. From the All Training Records view, you can send reminder emails to users.
2. Select the records you wish to send a reminder to then click Send Email Reminder.
3. Click Yes to send reminder email or No to cancel.
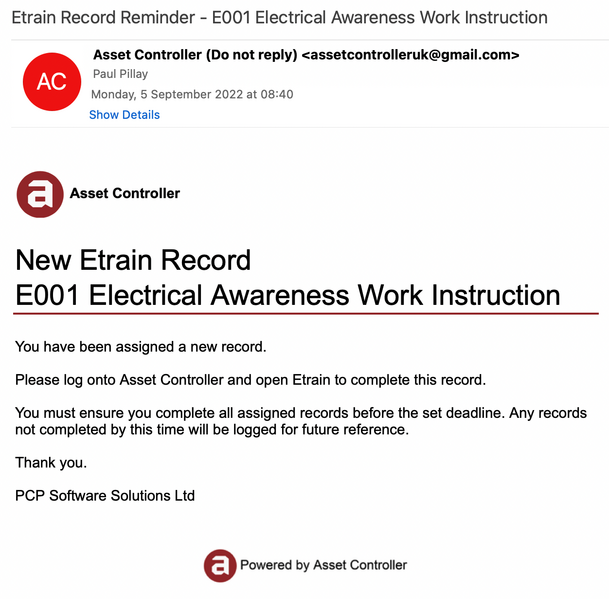
4. If enabled, the user will receive a Etrain record reminder email message in their mailbox. This email notification can be designed in the Report Designer and report saved in Global Settings.