Service History
In this section, you will learn about the Service History Detail View. Based on the selected asset, this view shows all the related service entries (previous and current). You can also create and delete multiple service entries, and open, save and delete attachments (e.g. calibration certificates).
View Service History Detail View
1. Click on the plus icon  to expand the selected row.
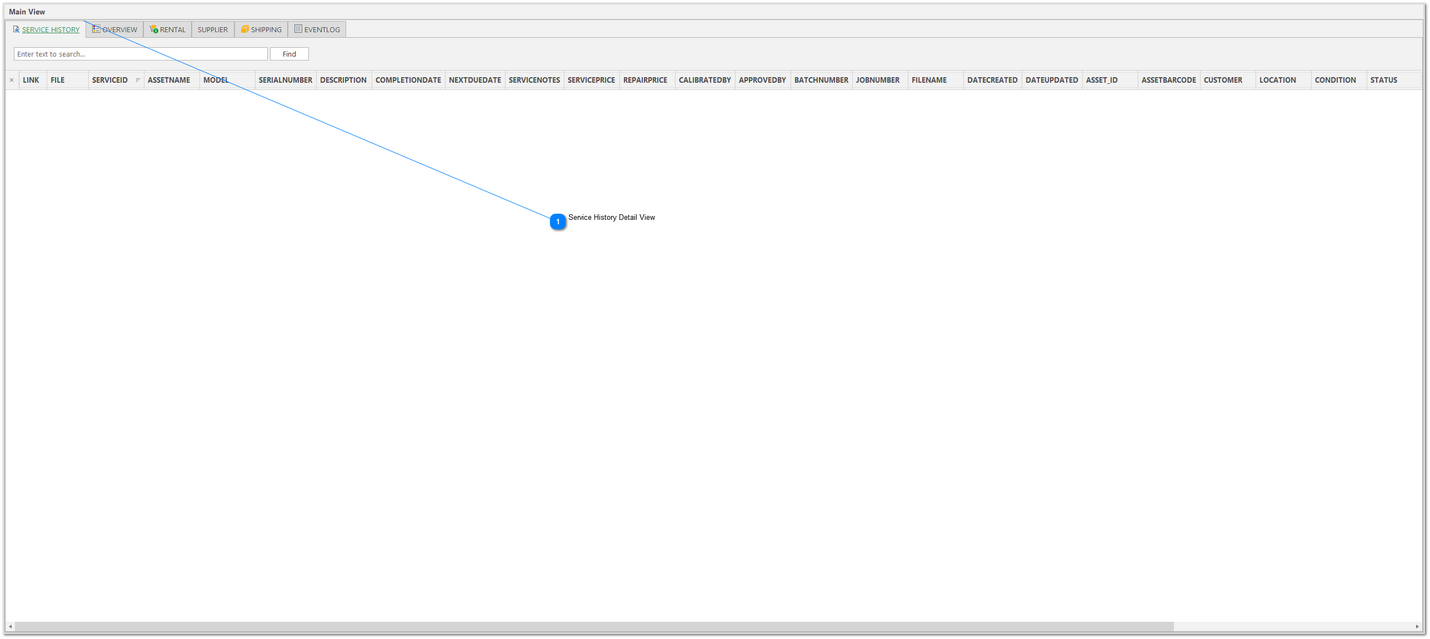
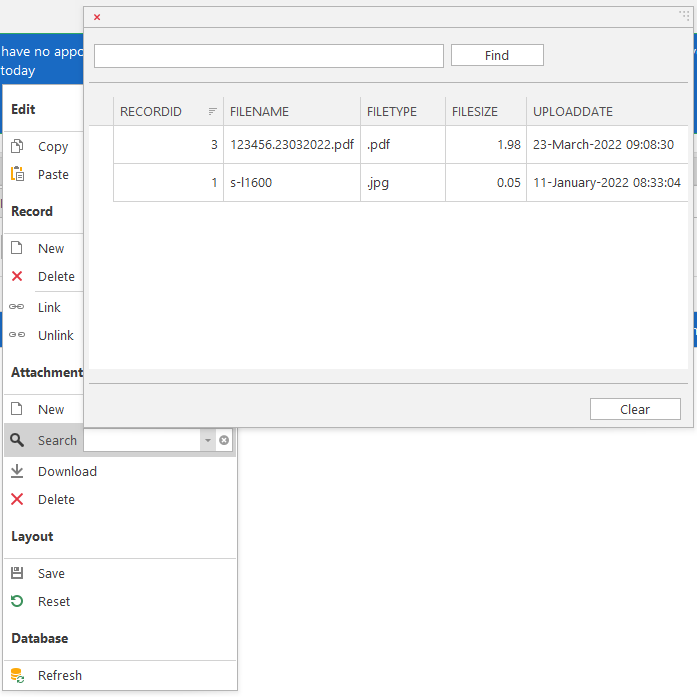
Service History Detail ViewThe Service History Detail View shows data in a tabular grid view, similar to Excel. You can search for keywords using the find panel, edit cells, resize columns, filter and group columns and customise the layout to suit.
|
1. Right-click the service entry row to bring up the context menu and select Record -> New.
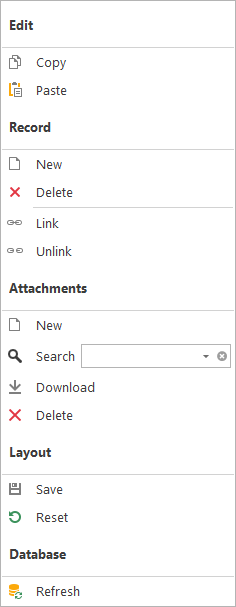
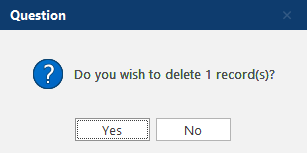
1. Select all the records you wish to delete and right-click to bring up the context menu and select Record -> Delete.
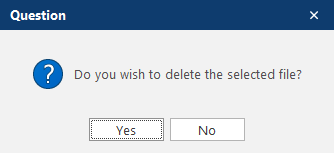
2. Click Yes to confirm the deletion.
Whenever you create a new service entry, you can link it to the main asset. This allows you to make a change in the main view which will also apply to the linked service history entry in the detail view. For example, changing the next service due date in the main view will also change the next due date in the service entry. Please note: making a change in the service entry does not change the main view. You can only link one record at a time. By default, whenever a new service entry is created in Service Entry or Certificates, the service entry is automatically linked. Only an Administrator user account can manually link or unlink a record.
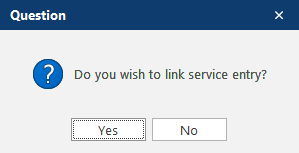
1. Right-click the service entry row to bring up the context menu and select Record -> Link.
2. Click OK to close the pop-up message.
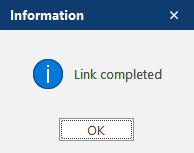
3. The LINK column will display a linked icon to indicate that the service entry has been linked. Linking a service entry will also add the unique SERVICEID number to the asset's SERVICEID column in the main view.

1. Right-click the service entry row to bring up the context menu and select Record -> Unlink.
2. Click OK to close the pop-up message.
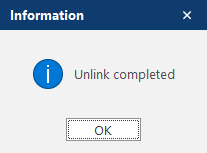
3. The linked icon will be removed from the LINK column to indicate that the service entry has been unlinked. Unlinking a service entry will also clear the asset's SERVICEID column in the main view.

You can upload and save a PDF attachment to every service entry in the service history detail view (e.g. calibration certificate, service report, etc.). Note: The maximum file size allowed to upload is 5MB.
1. Right-click the service entry row to bring up the context menu and select Attachments -> New.
2. Select your file and click on Open.
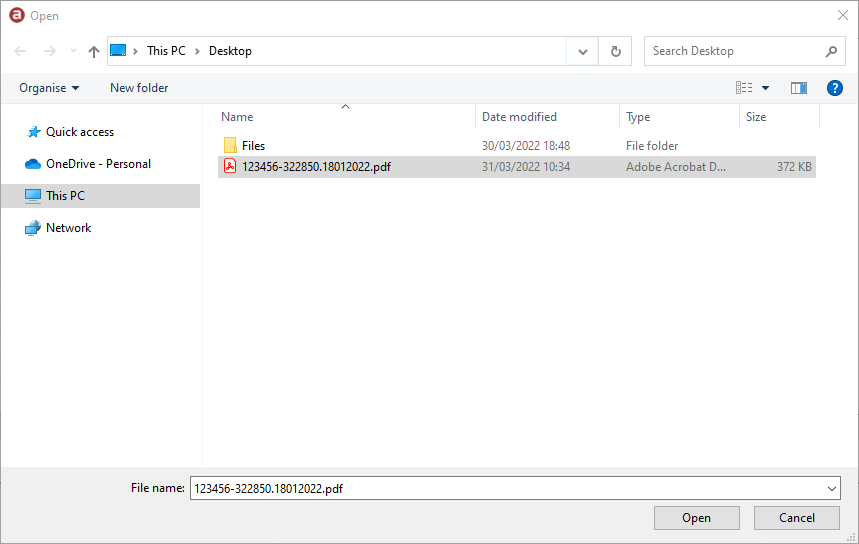
3. The file will be uploaded and saved. Depending on the file size, this may take a few seconds. If successful, the FILE column will show a paper clip icon to indicate a file has been attached. The FILENAME, FILEID & FILESIZE column will also be updated.

You can search for any saved attachment and attach it to a service entry.
1. Right-click the service entry row to bring up the context menu and select the attachment from the drop-down menu in Attachments -> Search.
2. If successful, the FILE column will show a paper clip icon to indicate the file has been attached. The FILENAME, FILEID & FILESIZE column will also be updated.
You can clear an attachment from a service entry. This just removes the file information from the service entry, it doesn't actually delete the attachment.
1. Right-click the service entry row to bring up the context menu and select the Clear button
 from Attachments -> Search.
2. If successful, the paper clip icon will be removed from the FILE column to indicate that the attachment has been removed from service entry. The FILENAME, FILEID & FILESIZE column will also be cleared.

You can download any attachment. Note: Your windows system default app is used to open the attachment, so make sure you have an associated file type set (e.g. Adobe Reader to open .pdf files).
1. Right-click the service entry row to bring up the context menu and select Attachments -> Download.
2. The attachment will be downloaded to your windows temp folder and opened via your default file type associated application.
You can delete any unlocked attachment. Note: Any reviewed PDF attachment created in Certificates will be locked and cannot be deleted.
1. Right-click the service entry row to bring up the context menu and select Attachments -> Delete.
2. Click Yes to permanently delete the selected attachment.
3. If successful, the paper clip icon will be removed from the FILE column to indicate that the attachment has been removed and deleted from service entry. The FILENAME, FILEID & FILESIZE column will also be cleared.